
Guide
How To Connect A Midi Controller To A Logic Pro X?
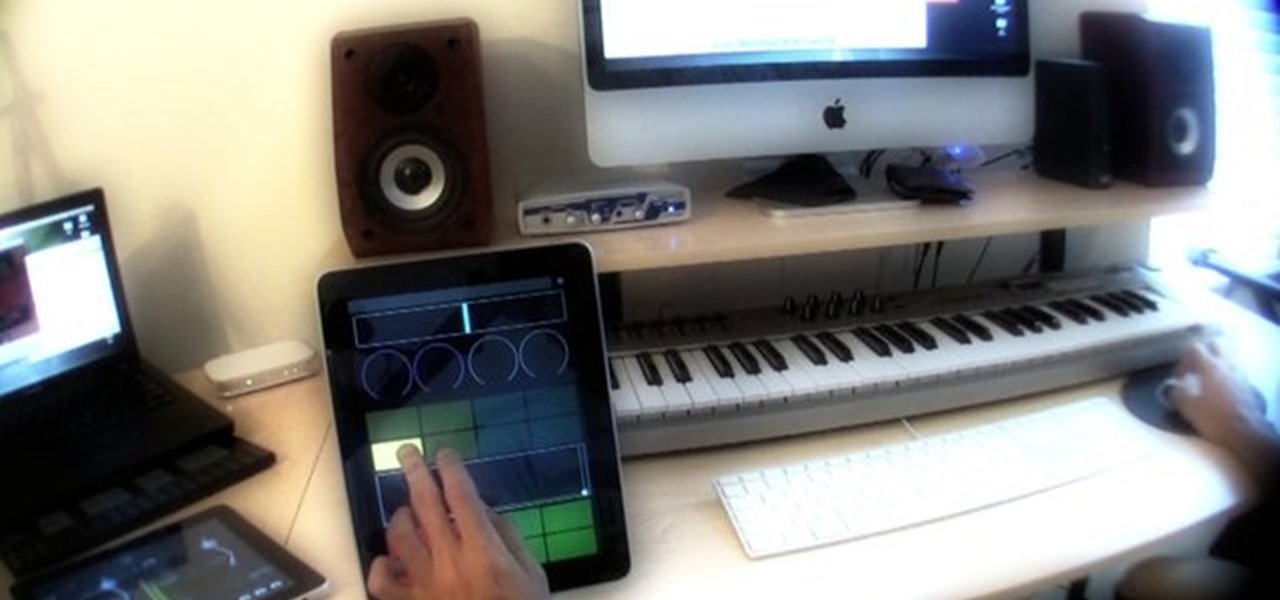
For those of you who don’t know, Logic Pro X is a software that is commonly used in iOS computers. It is a software for digital audio workstation. It is a tool that is used mostly by DJs but some music lovers enjoy using it as well.
Even though we can practically survive using our own keyboard, connecting a Midi controller is a lot better. In this article, we are going to show you how you can connect your Midi controller to your Logic Pro X.
 Getting Started
Older versions of Midi use a DIN cable for connection. This is something that you cannot use with Logic Pro X unless you have a third-party hardware that you can use. Using a new version of Midi would be much more convenient since it will have a USB connector which you can directly connect to your laptop.
Once you launch Logic Pro X, the software will prompt you to set your Midi controller as a device to use in Logic Pro X.
As soon as that happens, you are ready to create music using your Midi controller and Logic Pro X.
General Preferences To Know About
You can customize your preferences as often as you wish. Simply go to Logic Pro X, select Preferences, and click MIDI.
There are three tabs that you will find I the MIDI interface:
- General
You should only choose option if you have MIDI communication problems. If you do, click reset, and this should fix the issue at hand.
- Reset Messages
This option is for people who has issues with Midi controllers getting stuck. Select the controller that you want to reset and everything should be fine in a matter of seconds.
- Sync
This tab will help you adjust your timing or sync your software with another device.
Aside from the MIDI preferences, there is also the project preferences pane that is essential to customize every once in a while. To access this option, go to File and then click Project Settings. Select MIDI.
Here are the three tabs that you will find in the project preferences:
- General
This tab is there to help you set MIDI to scrub with the sounds in the tracks section. Scrubbing pertains to the process of auditioning a set of sounds while your mouse pointer drags over it.
- Input Filter
This lets you filter out certain MIDI functions if you decide that you temporarily don’t want to use them or if you want them to be sent or received.
- Chase
When a MIDI event has been triggered, you will automatically start a new project. The Chase tab lets you set how you want the MIDI events will behave during the start of the project. One example is when you choose to start a project at the middle of a pitch bend. In this case, you can select the Pitch Bend checkbox and then you can guarantee that the bend will be synchronized correctly.
Those are basically the initial elements that you need to know about Logic Pro X. Start practicing and you will become an expert in no time. Just take note that in becoming a DJ, getting the right equipment is necessary. It may require you to invest a bit of money on the equipment but we all know that it will be worth it in the end.
You can check out https://whatever-tech.com/best-midi-controller-for-logic-pro-x-reviews/. It is a great place to look for high-functioning MIDI controllers that are not only compatible with Logic Pro X but it is also affordable at the same time.

Exploring The Impact Of Libido Gummies On Women’s Health

Navigating Vaporizers: Disposable Pods vs. Vape Pens

Your Guide To Choosing The Perfect THCP Gummies

Your Guide To Growing THCA Flower At Home

Navigating The Legal Landscape Of D9 Gummies Across Different States
Your Guide To Choosing The Perfect THCP Gummies
Navigating Vaporizers: Disposable Pods vs. Vape Pens